![Ravyen Transparent 1390x426-1.png]](https://insights.rayven.io/hs-fs/hubfs/000%20-%20Rayven/Rayven%20Brand%20Assets/Rayven%20Logos/Ravyen%20Transparent%201390x426-1.png?height=50&name=Ravyen%20Transparent%201390x426-1.png)
What Is the Form Builder?
The Form Builder creates a dynamic, configurable form interface for dashboard users to enter data into a workflow. It supports display customization, submission actions (like page reload), and can optionally show the most recent form submission by default.
Form inputs become part of the outgoing JSON payload, which can then be used in subsequent nodes, stored, or transmitted via file/FTP.
Step-by-Step: How to Configure the Form Builder Widget Node
-
Add the widget
-
Drag the Form Builder Widget Node from the Controls panel to the canvas.
-
-
Connect the widget to the workflow
-
Link the form builder to a downstream node that handles form submission payloads (e.g., save to table, send API, trigger workflow logic).
-
This connection enables submission data to be processed after it's received.
-
-
Open configuration
-
Double-click the widget to open the settings window.
-
General Settings
| Field | Requirement | Description |
|---|---|---|
| Widget Name* | Required | Title of the form widget (e.g., Maintenance Request). |
| Widget Subtitle | Optional | Context or subheading below the title. |
| Widget Header | Optional | Toggle to show/hide the header block on the form. |
| Show UID / Label Name | Optional | Display device or label name on the widget. |
| Show Last Submitted Form by Default | Optional | Displays most recent form entry to the user. |
| Reload Page After Submit | Optional | Automatically reloads the dashboard page after submission. |
| Submission Confirmation Message | Optional | Message displayed after successful form submission. |
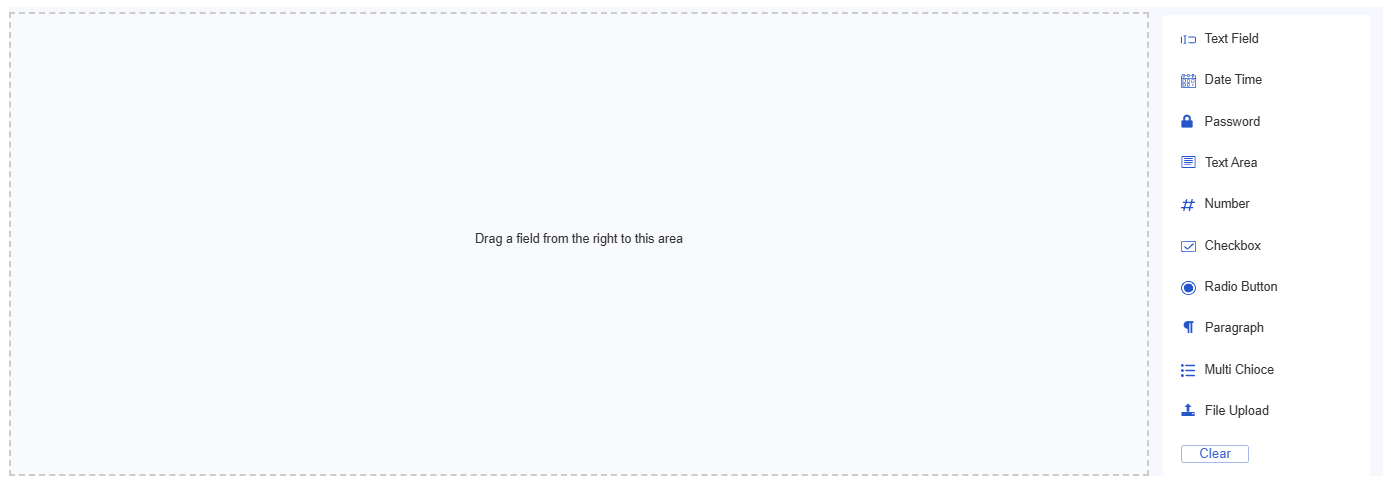
Form Builder Input Elements
| Element | Description | Use Cases |
|---|---|---|
| Text Field | Single-line text input for names, IDs, short labels. | Name, asset tag, comments. |
| Date Time | Calendar and time picker to select a specific timestamp. | Event logging, task scheduling. |
| Password | Obscured input for sensitive credentials. | Login, secure access. |
| Text Area | Multi-line text box for long-form input. | Notes, descriptions, incident reports. |
| Number | Input restricted to numeric values (with optional min/max validation). | Quantities, values, sensor thresholds. |
| Checkbox | Binary toggle (checked/unchecked). | Terms acceptance, toggle options. |
| Radio Button | Select one option from a predefined list. | Choose one from multiple statuses or categories. |
| Paragraph | Non-editable text for static instructions or context. | Section headers, help text. |
| Multi Choice | Dropdown or checkbox list allowing multiple selections. | Select multiple items, settings, or tags. |
| File Upload | Allows users to attach and submit files (e.g., images, logs). | Document upload, proof of work, screenshots. |
Interface Settings
| Field | Requirement | Description |
|---|---|---|
| Add to Interface* | Required | Select which dashboard interface(s) will show the form. |
Visualisation Settings
| Field | Requirement | Description |
|---|---|---|
| Font Style | Optional | Choose from available font presets. |
| Font Size | Optional | Set font size for all form elements. |
| Text Alignment | Optional | Choose Left, Center, or Right alignment. |
| Border Width | Optional | Select the form border thickness (e.g., None, Thin, Thick). |
File Settings (Optional)
Use this section to send submitted forms to a file server.
| Field | Requirement | Description |
|---|---|---|
| FTP Address | Optional | Address of the FTP server. |
| FTP Username | Optional | FTP login username. |
| FTP Password | Optional | FTP login password. |
Grouping & Display
| Field | Requirement | Description |
|---|---|---|
| Select Label | Required (if grouped) | Choose a label to group forms (e.g., Zone, Site). |
| Grouped Display Mode | Required | - No Grouping: one form per device - Group by Label Value - Group by Label Name |
| Number of Widgets to Display | Optional | Limit how many grouped widgets appear. |
Use Cases
-
Submit feedback or maintenance tickets
-
Allow operators to enter batch settings or shift handovers
-
Trigger logic based on user-entered data
-
Log manual observations into workflows
-
Upload structured information to FTP or processing nodes
Best Practices
-
Keep the form layout simple and clear
-
Use meaningful labels for fields to ensure data accuracy
-
Enable confirmation messages to reassure users on submission
-
Avoid reload unless necessary — it resets dashboard state
-
Connect the form node to processing logic for storage, alerts, or routing
Frequently Asked Questions (FAQ)
Q: Can I include validation or required fields?
A: Yes, form fields support input validation based on type and required status (defined when building the form interface).
Q: What happens after submission?
A: The submitted values are emitted as JSON payloads and passed into the next node.
Q: Can the same form be submitted multiple times?
A: Yes, unless restricted downstream. You can also show the last submitted data for review.
Q: Is FTP upload required?
A: No, it’s optional. Use it only if you need to store form submissions externally.